


How To Install a ShowIt Website Template
So, you bought a ShowIt template! Awesome! Whether it’s one of my templates or not, I am pumped for you. I LOVE the ShowIt platform, and I know you will too.
And as I always promise, I want to cut out all the fluff. And with that said, let’s dive straight into it. I want to show you how simple it is to install a ShowIt website template.
STEP 1:
Login to your ShowIt account. Go to your ShowIt dashboard.
STEP 2:
On the lower left-hand corner of the dashboard, you will see your name. Click on that.
STEP 3:
This window (see the screenshot below) will appear after clicking on your name.
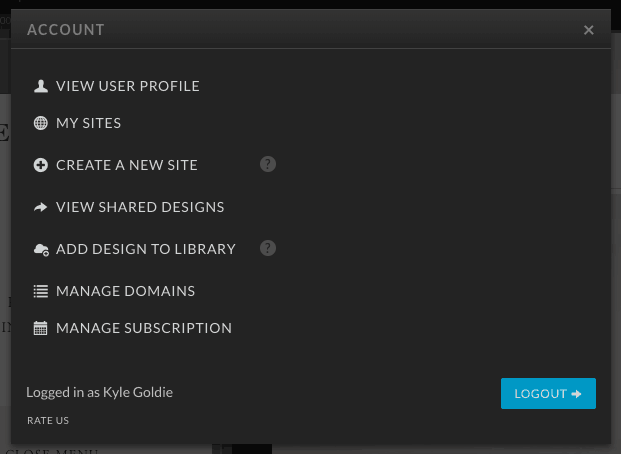
On that screen/popup, click on the button that says “Add Design To Library.”
STEP 4:
Once you clicked on that button, this new popup window appears (see the screenshot below):
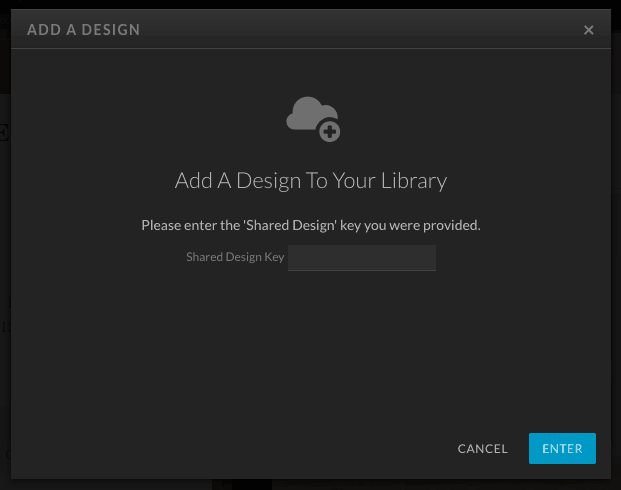
STEP 5:
Enter your “Shared Design Key” into that box, and then click that blue ENTER button. This key would have been sent to you by whoever you purchase the ShowIt website template from.
STEP 6:
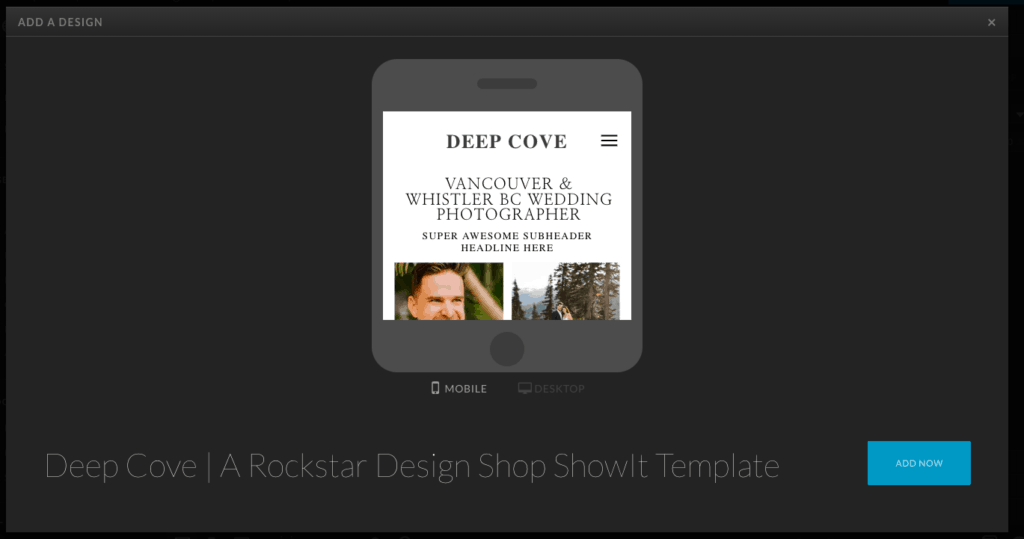
After clicking enter, you will see a popup screen similar to the one you see below. If the code is correct, it will show you a sample of the design you are installing. You simply click the “ADD NOW” blue button in the lower right. (See screenshot below).
STEP 7:
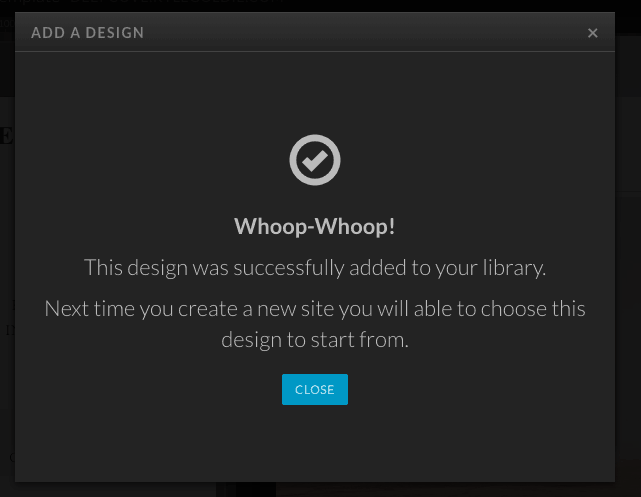
After clicking the “Add Now” button, this final popup window appears saying it was successfully added. YAY! (But you’re not done yet. This just gets it into your library.
STEP 8:
Go back to the lower left of your ShowIt dashboard, and click on your name. (Same as what you did in Step 2). After you are in there, the same window will pop up as what you did in Step 2. (See below screenshot).
STEP 9:
Click on the “Create a New Site” button.
STEP 10:
On this screen that pops up, it may default you to the “ShowIt Designs” tab. The tab you are wanting is the “Your Designs” tab . as seen below in the screenshot. Click on that.

STEP 11:
Once you’re in the “Your Designs” tab, you will see the template you just installed by adding that Shared Design Key. Click on the design you are wanting to start with. (Remember, you can very easily customize any template you purchased).
STEP 12:
Now, all you have to do is press the blue button, “Start with This Design.”
PRESTO! You have fully installed the design and you can now actively customize it however you would like. Your dashboard will now show all the different pages that are pre-designed and pre-loaded. All you have to do now is just hop in there and change out your images, the website copy, and your social proof (press badges, reviews, etc).
If you are still looking around for an awesome Showit template, make sure to check out my Showit website templates.
Hope you found this helpful! Let me know if you have any questions. Cheers.
Listen & Subscribe!
Check Out My Podcast Below
Get Help & Join The Mastermind
s
Photography
And/or
Education

I help photographers (of all types) as well as educators (course creators, consultants & coaches) make more money, work fewer hours per week, and improve their work-life balance. All without ads.
If that sounds like something you're wanting for yourself and your business, check out how I can help. What I offer is a blend between coursework, coaching, and done-for-you services. I have all the options you could need. And, of course, if you ever want to see which is the right path for you or if you have any questions - just reach out to me using my Contact form on my website or simply schedule a free call with me.
I really am here to help.
How i Can Personally Help you
Choose Your Path


Apply for a Free Mini Business Audit
Get on a *free* 1:1 Zoom call with me to help identify a path that is unique to you. It will also give us a chance to chat about what it's like working together on that unique path. Schedule your call now!


Showit Websites
Showit website templates, and custom website optimization sessions that are designed for both conversion and SEO.


Signature Lightroom Preset Pack
Quite possibly the last pack you'll ever need. These took me more than 12 years to refine.

Photography Business Mastermind
SEO, sales, website conversion, systems, automation, client communication, time management, and way more. Get my personal help directing you... step-by-step with full clarity, accountability, and with strategy that helps get you more bookings, more profit, and more time back with your family.


